One of the many things I love about weekends is that I get to cook a real breakfast. During the week I pretty much stick to oatmeal and my Kashi Seven Whole Grain Puffs that I keep at the office.
For me, a real breakfast includes eggs, bacon, pancakes, waffles, hash browns, grits, biscuits and gravy or a combination thereof.
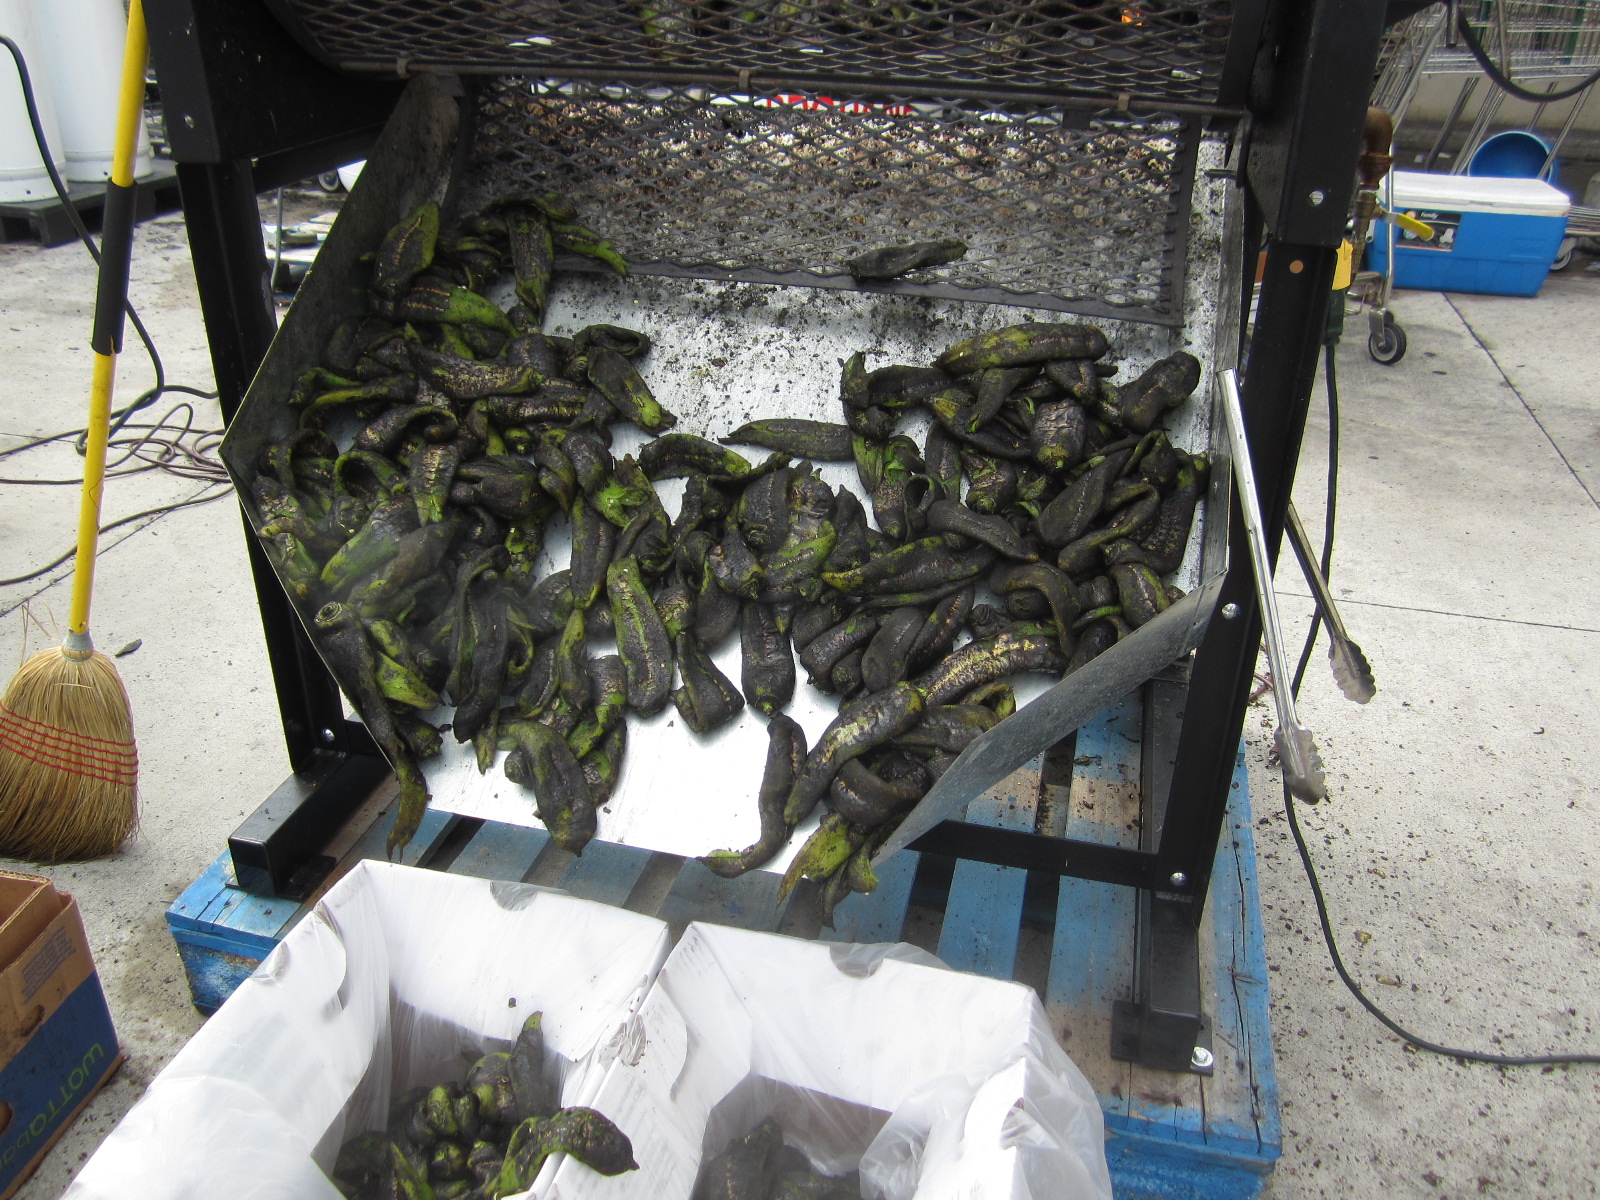
I dug into my stash of roasted Hatch chile peppers that I froze last month and a Hatch link sausage and made myself an omelette.


chopped up the roasted chile pepper

Once the eggs were set yet a little wet on the top, I added the chopped chiles

then the hatch sausage and cheese

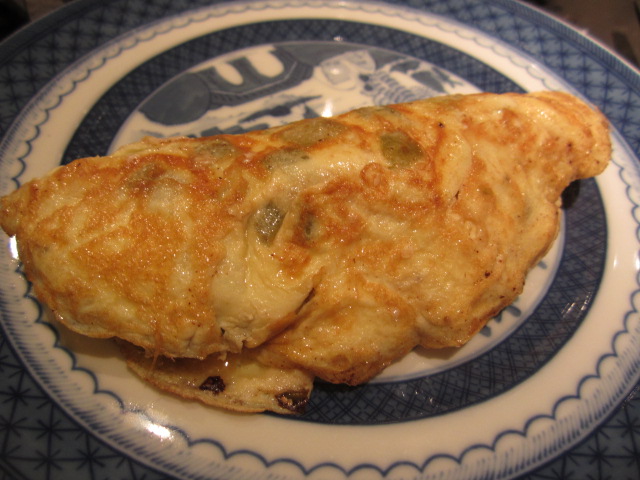
Double Hatch Omelette
Serves 1 to 2
Ingredients:
2 large eggs
2 Tbsp. milk
1 link hatch chile sausage
1 roasted Hatch green chile
2 Tbsp shredded cotija cheese
Mise en place:
- whip eggs and milk together in small mixing bowl
- remove sausage from casing
- rinse, seed, and coarsely chop the roasted chile
- shred cheese
Sauté the sausage in omelette pan over medium heat until the meat is no longer pink. Remove sausage, set aside and drain excess grease. If your sausage was extremely lean and your omelette pan is not a non-stick one, add 1 Tbsp of butter. When butter is bubbling and just beginning to turn brown pour in the egg/milk mixture. With a soft spatula or wooden spoon gently pull edges of the setting eggs to the center and allow the non-set eggs to flow to outer edges of pan. Repeat this procedure until most of the egg mixture has set, with the tops of the omelette being a little wet.
Sprinkle the chopped chile pepper onto one half of the eggs. Top with the reserved sausage and sprinkle with cheese.
Gently fold omelette in half and roll out of pan onto serving plate.